

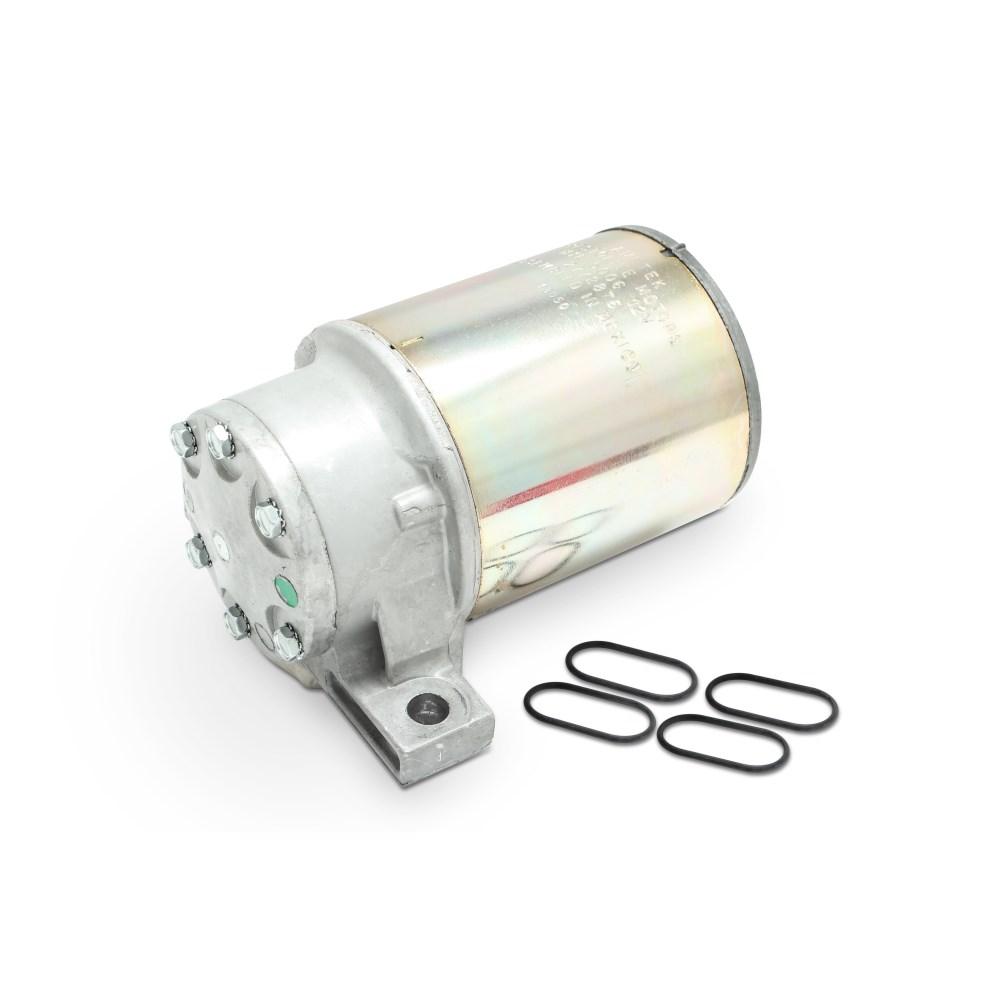
Heavy-duty fleet Hydro-Max backup motor and backup pump sub-assembly layout calibration.
Hydro-Max Motor & Pump Installation Instructions
⚠️ CRITICAL: Verify Specifications
You are urged to refer to a suitable commercial vehicle service manual before attempting to execute components teardown. If you lack heavy-duty hydraulic experience, seek the professional services of a qualified fleet technician.
🛑 Expert Installation & Field Note
Drawing from our shop experience specializing in heavy-duty brakes since 1985, electric backup motor failures on Hydro-Max booster blocks are commonly triggered by oil entry saturation past unseated face seals. During pump securement, structural shifting of the small face seals out of their machined bulkhead pockets will pinch the rubber, causing immediate hydraulic pressure fluid bypass. Take extra care to ensure seals remain perfectly seated before drawing the cap bolts to torque line limits.
1. Removing the Old Pump & Motor Assembly
- ⚡ Step 1: Safely disconnect the primary electrical lead wire matching the frame harness directly from the booster motor.
- ⚡ Step 2: Remove the metal retaining cap screws securing the integrated motor and pump housing directly to the main booster flange block.
- ⚡ Step 3: Extract the two circular face seals positioned on the flat mounting surface face and discard them immediately. Do not reuse old elastomer gaskets.
2. Bulkhead Cleaning & Core Inspection
Carefully wipe and scrub clean the main pump/motor mounting area of the booster casting blocks. Use a lint-free shop cloth and a light cleaning solvent to clear off scale buildup. Exercise absolute caution: do not allow loose metal particulate, dirt, fluid drops, or field contaminants to enter the open port pathways of the hydraulic unit housing.
3. Mounting & Installation of Fresh Components
- ✔️ Step 1: Lubricate Face Seals – Apply a thin, slick coating of clean power steering fluid to the fresh replacement face seals, then place them square inside the machined recesses located on the pump/motor face.
- ✔️ Step 2: Core Mating – Guide the pump and motor assembly straight onto the booster. Maintain precise concentric line alignment to ensure the lubricated seals do not slip out of their recess borders.
- ✔️ Step 3: Fasteners Torque Spec – Thread the cap screws completely by hand. Deploy a calibrated torque wrench to lock the fasteners down firmly to 18-25 ft-lbs. Avoid over-tightening to protect soft block body threads.
There are two distinct terminal connection applications. Select the path matching your industrial or automotive application parameters:
4. Terminal Connection & Wiring Procedures
Configuration A: Stud & Nut Assembly
Slide the heavy ring wire terminal end clean over the integration stud terminal. Thread the lock washer and supplied replacement nut down firm. Snug with an appropriate wrench socket to seat the line secure without deforming the terminal isolation spacer.
Configuration B: Lead Wire Pig-Tail Layout
Cut the original vehicle loom wire 3-4 inches out from the old unit connector. Strip back 1/4″ of rubber insulation shielding. Place the bare wire inside the supplied crimp sleeve connector and compress firmly. Deploy an appropriate heat gun torch loop to shrink and activate the inner environmental glue seal.
⚠️ CRITICAL CRIMP WARNING
Failure to use a dedicated mechanical wire terminal crimping tool will result in high structural resistance, loose connections, or permanent loop voltage drops, leading to immediate system electrical backup failure.
Technical Fleet Support: Specialized in Industrial & Heavy-Duty Automotive Equipment
*For corporate equipment tracking data processing and carrier audit accounting consistency, please note that all applicable regional sales tax metrics are fully calculated and included directly inside your finalized counter ledger invoice total subtotals.